


Why Roof Ventilation Matters for Metal Roofs
Roof ventilation is highly significant, especially if you have a metal roof. It supports evicting heated air from the attic and provides cooler air to enter, retaining the indoor temperature controlled. In summer, if air does not circulate correctly in the attic, plenty of heat can expand. This not only causes the home to be heated but also upgrades the load on the air conditioning system.
In winter, the warm indoor air elevates and can make condensation in the attic, which may lead to corrosion and outflows under the metal roof. Also, suitable ventilation upgrades energy efficiency by expelling hot air and prevailing cool air, which curtails the pressure on your cooling systems. All these components together help increase the life of your roof and preserve a comfortable indoor climate.
Types of Roof Vents Compatible with Metal Roofs
If you’re choosing roof vents compatible with metal roofs, it’s essential to select precisely to ensure efficient ventilation while supporting the integrity of the roof. Here are several common types of roof vents that are perfect for metal roofs:
Ridge Vent:
A ridge vent is installed at the apex of the metal roof and supports natural airflow. It supports removing hot air through the roof, permitting appropriate ventilation.
Box Vent (Static Vent):
Box vents are small vents installed in explicit spaces of the roof, helping to eject air naturally. They give passive ventilation and are generally applied for smaller areas.
Turbine Vent:
Turbine vents spin due to wind strain and expertly remove hot air from the attic. They are wind-powered and work effectively when there’s sufficient airflow.
Powered Vent:
These function like electric fans and are ideal for areas that require higher airflow. Powered vents are energy-saving and give controlled ventilation for more exact requirements.
Gable Vents:
These vents are installed on the lateral sides of the roof (gable ends). While they are a former type of ventilation, they can even be applied with metal roofs, especially when cross-ventilation is vital in the attic.
Soffit Vents:
Placed on the flat portion of the roof (eaves), soffit vents allow cool air to enter the attic, while ridge or other vents remove the hot air. This generates a stable airflow, ensuring suitable ventilation.
It’s essential to choose these vents installed on the roof’s design, slant, and precise ventilation requirements to make sure of optimal operation.
Choosing the Right Location for Vent Installation
Choosing the right location for vent installation on a metal roof is essential to provide effective airflow and extend the roof’s longevity. The ridge vent must be installed at the top of the roof, where hot air surely escapes. This supports constant airflow. Soffit vents need to be installed at the bottom of the roof to provide cool air, helpful in balancing the ventilation. Do not install vents in spaces that may be inclined to debris or hindrances, like under trees.
Turbine vents shall be placed where wind can competently power them, usually around the ridge. Do not install vents in base or roof valleys, as these spaces can accumulate water and create humidity issues. Check the appropriate flashing and sealing near the vents to prevent leaks. The exact vent placement supports control of heat and humidity, which in turn upgrades the longevity of the roof.
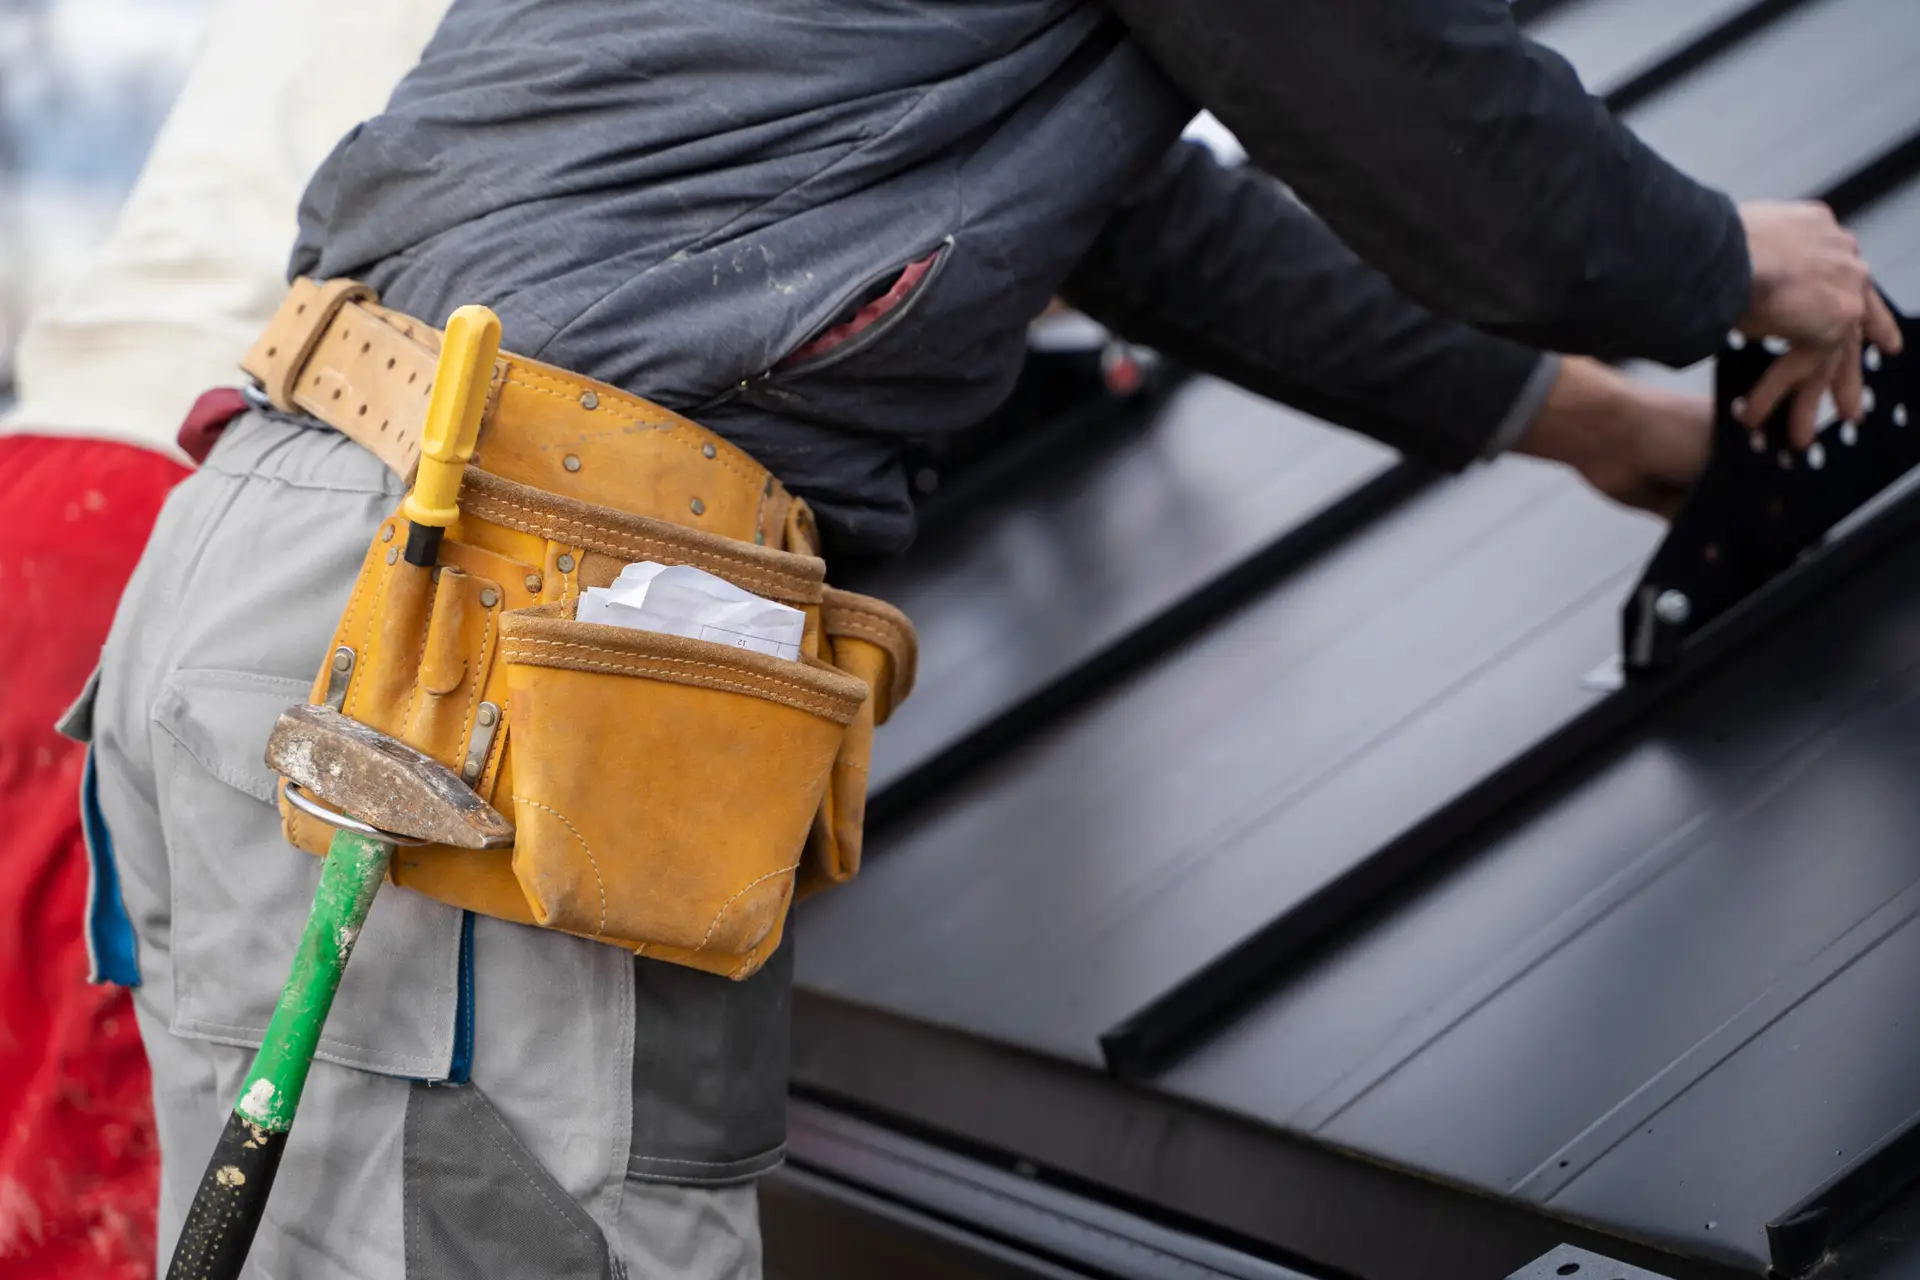
Preparing the Metal Roof for Installation
When installing a metal roof, it is essential to observe several key steps to make sure of a proper installation and that the roof works appropriately. Here are the steps you must keep in mind:
Roof Inspection:
Start by examining the roof to check that there is no current damage, leaks, or weak spots. If any problems are discovered, it’s important to fix them before proceeding with the installation.
Cleaning the Roof Surface:
Cleaning the surface of the roof is critical to expel dirt, waste, and ancient layers. This makes sure that the fresh installation is acquired and properly sealed.
Check for Proper Slope:
Metal roofs usually need a proper slope for water to drain smoothly. If the slope is not appropriate, water can collect, which can lead to corrosion and outflows.
Install Underlayment:
Installing an underlayment is essential. This layer shields the roof from humidity and gives insulation, enhancing the whole execution of the metal roof.
Mark the Vent Location:
Mark the accurate location for vent installation on the roof to make sure of exact cutting.
Measurement:
During measuring the roof, confirm to consider the measure and form of the vent to check if it will customize fitting.
Cutting the Roof:
Utilize metal snips or a saw to precisely trim the roof. Check that the cut space is even so the vent can securely attach.
Safety Precautions:
Wearing appropriate footgear, gloves, and headgear. It’s also essential to use safety mats when operating on the roof to ensure security.
Following these procedures will help ensure that your metal roof installation is prosperous and that the roof functions as predictably.
Installing the Roof Vent: Step-by-Step Process
Installing a vent on a metal roof compels attentive work, but if you chase the right steps, it can be quite simple. Given a step-by-step method to direct you:
Step 1: Mark the Vent Location
Firstly, mark the location where the vent will be installed. If you are installing a ridge vent, mark the apex of the roof. For soffit vents, mark the rim (the bottom part of the roof). Verify the vent is not near any obstacles.
Step 2: Cut the Roof Surface
Closely cut the metal roof where the vent opening is to be. For a ridge vent, you will want to make a constant opening beside the roof’s crest. Utilize a scroll saw or reciprocating saw to make accurate splits.
Step 3: Install Flashing
It’s essential to install flashing over the vent location. Flashing supports hold water away from the vent space to avoid leaks. Verify that the flashing is adequately sealed to the roof exterior.
Step 4: Position the Vent
Closely place the vent in the decided location. Check that the vent is straight and coordinated.
Step 5: Secure the Vent with Screws
Use screws to attach the vent to the roof. Check that the screws are constricted correctly to hold the vent strong.
Step 6: Sealing
Use top-quality sealant over the rims of the vent to avoid water leakage. Extend the sealant equally by the vent’s edges.
Step 7: Final Check
Then, after installation, test the vent and surrounding locations. Check that the entirety is securely sealed with no cracks or openings.
Step 8: Clean-Up
After the installation is perfect, clean up the roof by removing any equipment and extra materials. Check that there’s no debris forgotten.
Conclusion
Proper ventilation is critical for the installation and support of a metal roof. Installing the ventilation system in the proper location and in the exact method supports expanding the roof’s longevity, controls humidity and overheating, and upgrades energy efficiency. Choosing the proper types of vents for a metal roof, installing them in the suitable spots, and ensuring the roof is perfectly inclined all contribute to making your roof strong and durable. By attentively following all steps, you can expertly ventilate your roof, which will eventually shield your house. If you follow the appropriate concern and installation steps, your metal roof will give perfect execution and deliver lasting benefits.