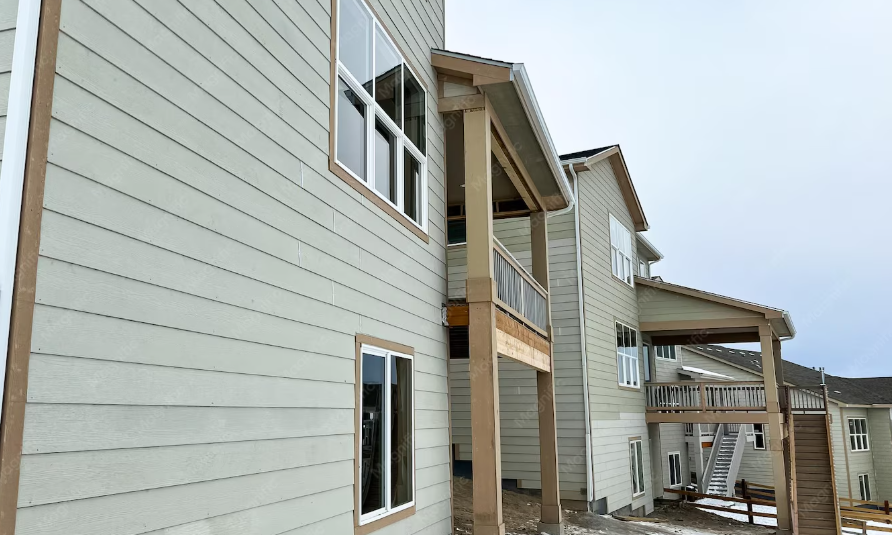


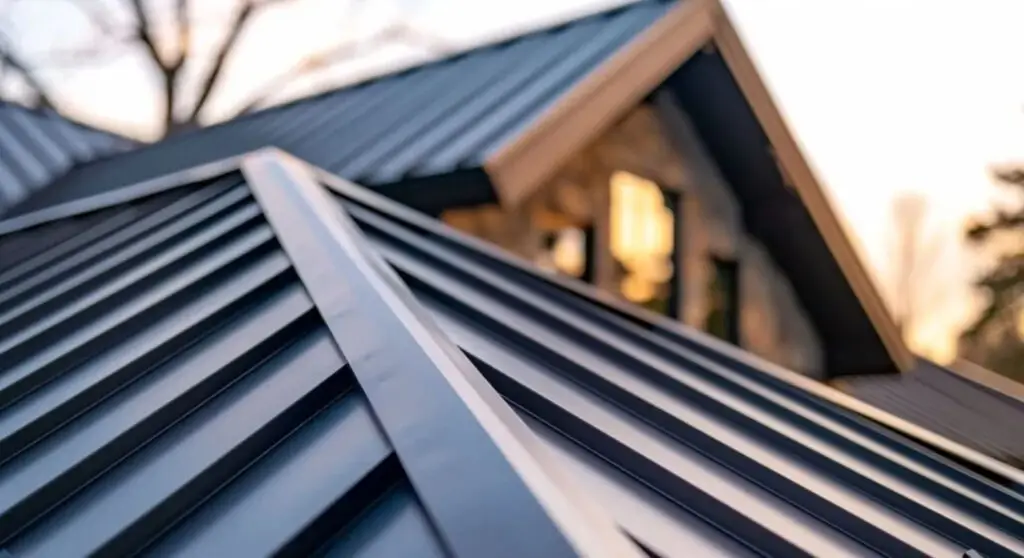
A roof valley is the sector where two sloping roof parts meet, making an angle that pipes water off the roof. It’s especially designed to support drainage water effectively, guiding it right into the gutters.
There are two essential types of roof valleys: open valleys and closed valleys. In an open valley, metal flashing is evident and leads the water downward. In a closed valley, roofing material like shingles or panels is installed with the metal, granting the valley a more stable look.
Metal is applied in roof valleys because it’s solid, weather-resistant, and enduring. Usual materials involve galvanized steel, aluminum, and copper. A properly installed roof valley not only helps prevent leaks but also extends the life of the roof and shields the overall structure.
Tools and Materials Needed
Installing a metal roof valley demands advanced tools and quality materials, which are important for safety and clarity.
Safety Gear:
- Hand gloves (to secure your hands)
- Safety harness (to stop falls when operating at height)
- Shelter glasses (to secure your eyes)
Roofing Tools:
- Container snips or metal-cutting equipment (to slash the metal sheet)
- Hammer or drill (for driving hooks or bolts)
- Chalk line (for manufacturing the right marks)
- Tape measure (for perfect measurements)
Materials:
- Metal valley flashing (the major metal item for the valley, typically built of galvanized steel, aluminum, or copper)
- Roofing hooks or screws (to acquire the metal)
- Underlayment (a water-resistant sheet for shelter beneath the valley)
- Sealant or roofing caulk (to seal joints and borders)
- Roofing panels or shingles (to cover the surrounding section)
Installing Underlayment in the Valley
Installing underlayment in the valley is really critical because it makes the roof water-resistant and durable.
Choosing Underlayment: Currently, synthetic or peel-and-stick underlayment is extremely popular because it’s waterproof and simple to use.
Installing Underlayment in the Valley: Correctly align the underlayment in the middle of the valley. It requires an overlay on both sides to ensure the water stream is directed properly. Verify that the underlayment shields the whole surface of the valley.
Securing It: Set the underlayment with roofing hooks or pins. Keep a space of 6 to 8 inches between nails to impede the underlayment from moving.
Seal the Edges: Apply sealant or roofing caulk to seal the boundaries of the underlayment.
Inspect the Area: Verify the entire valley area to ensure there are no breaks or wrinkles.
Cutting and Fitting the Valley Flashing
Appropriately cutting and fitting valley flashing is vital to ensure that the roof’s water-draining system works efficiently and hinders leaks.
Measuring the Flashing: Measure exactly the length and depth of the valley. Assure that the measure of the flashing matches the slope of the valley.
Cutting the Flashing: Precisely cut the metal valley flashing with tin snips or a metal-cutting appliance. When cutting, it’s essential to keep the edges sleek to prevent any sharp edges.
Bending the Flashing: Bend the flashing into a V-shape so it matches the shape of the valley. Also, utilize pliers if required.
Fitting the Flashing in the Valley: Locate the flashing in the valley and verify to ensure it aligns entirely. Fitting the edges of the flashing with the borders of the valley.
Securing the Flashing: Secure the flashing with roofing pins or nails, spaced every 6-8 inches. Ensure that the flashing is tight and strong.
Sealing the Joints: Close the joints of the flashing with roofing caulk or sealant to stop water leakage.
Inspecting the Installation: Then, after installation, recheck to ensure the flashing is right-fitted and there are no holes or loose areas.
Securing the Valley Flashing
Position the Flashing: Exactly place the flashing in the valley. Make sure that the edges of the flashing array are with the edges of the valley.
Nail or Screw the Flashing: Acquire the flashing with roofing nails or screws, separated every 6-8 inches. This will assure that the flashing is safely coupled. Prevent over-driving nails to avoid detrimental flashing.
Overlap the Flashing: If applying multiple flashing pieces, leave a 4-6 inch overlap to hinder water leakage.
Check for Stability: Confirm the flashing to assure it is rigidly fitted and securely fastened.
Installing Metal Roof Panels Along the Valley
The right installation of metal roof panels in the valley is essential to ensure even water flow on the roof.
Fitting the Panels in the Valley: Trim the metal roof panels according to the angle of the valley and adjust them to the valley’s form. Arrange the panels in an overlapping manner to ensure that water can flow smoothly.
Securing the Panels: Secure the panels with nails or fasteners. Place the clips at the exact distance and ensure they don’t impair the metal.
Sealing and Waterproofing the Valley: Sealing the valley and making it water-resistant is crucial to avoid leaks and upgrade the roof’s durability.
Applying Roofing Sealant: Apply roofing sealant to the joints and edges of the valley. Be sure to utilize the sealant evenly and copiously to leave no holes.
Using Foam Closure Strips: If required, use foam closure strips or valley foam to help avoid water intrusion.
Allowing the Sealant to Dry: Offer the sealant time to dry, ensuring that it bonds correctly and reducing the risk of leaks.
Common Mistakes to Avoid
Improper Measurement: Not evaluating the valley size exactly can create trouble when fitting flashing and panels. It’s vital to take accurate measurements to provide proper installation.
Ignoring Overlap: Not permitting overlap within flashing and panels. Without overlap, water can lightly leak through. Ensure there is a 4-6 inch overlap.
Not Sealing Properly: Defect in applying sealant properly. If the bonds and edges aren’t sealed, water can drain in, conceivably damaging the roof.
Incorrect Flashing Alignment: Not adjusting the flashing correctly with the edges of the valley. This can hinder water from draining effectively and raise the risk of leaks.
Not Cleaning the Valley: Debris or dirt increases in the valley can lead to leaks. Regular cleaning makes sure there is no stoppage that could prevent water flow.
Overdriving Nails: Overdriving nails can destroy flashing or panels. Check that nails are driven to the fitting depth to prevent damage.
Using Poor Quality Materials: Utilizing cheap or low-quality materials. It’s essential to install valley flashing and underlayment with stable, weather-resistant materials for durability and efficiency.
Conclusion
Metal roof valleys are crucial for appropriate water drainage and defense against leaks. Precise measurement, correct installation of underlayment and flashing, and correct sealing are key to ensuring your valley is water-resistant and stable. By ensuring the correct steps and avoiding common mistakes like improper alignment or sealing, you can ensure that your metal roof valley works efficiently for future years. Regular maintenance and inspection permit you to check the condition of your roof and address any damage rapidly. With emphasis on detail and the proper techniques, your metal roof valley will be safe, leak-free, and reliable in any climate situation.